Saturday, September 14, 2013

POLYMER CLAY EXTRUDERS

How many extruders do you have?  If you do a lot of polymer like I do, I love doing things with an extruder.  I originally bought that little silver thing that almost broke my fingers trying to push clay through it.

I was so excited when Makins came out with the great green extruder.  (Blog doesn't like the word extruder).  So, then Walnut Hollow came out with an extruder so I bought one of those.  Two friends quit claying and gave me their Makins extruder, now another friend quit and gave me her Walnut Hollow extruder.  So, I have 2 Walnut Hollows, 3 green Makins and wouldn't you know this website jumped up at me saying a new company from Czechoslovakia called Lucy Clay is making extruders.  They have one representative here in the U.S. that sells them and all the information sounded wonderful.

I love my green Makins extruder except that it hurts my hand when I'm holding it and trying to extrude clay.  It does make that funny noise and every time I use it and my husband asks what the noise is??????????????  He knows, he just likes to irritate me.  LOL

Well, I ordered the CZextruder.  The discs are separate but I think what drew me to the extruder is that the discs are colored, the extruder is colored and the handle comes off.  It works like a ratchet.
These are the parts.  The tube comes in 3 different colors.  There is a small white plastic piece that comes out and has to be cleaned with a baby wipe.  That is the clay pusher.  On the left is the inside part of the extruder and as you can see, there is a large bolt on the bottom that pushes the clay pusher.  The handle has a ratchet on it that fits on top.  The discs come in different colors and they are sold separately from the extruder.  You twist them out of the round place in order to get them loose and then you can file or use a cutter to take the two little tabs off.  It comes with 2 o-rings.  I have never used an o-ring while extruding.  The thing I like about this extruder is the tube.  It is very comfortable to handle.
Here is a youtube by Yonat Dascalu using the extruder with an electric hand drill.  http://www.youtube.com/watch?v=3Ns8W16u9P8&feature=youtu.be

  The green Makins extruder has that hashed metal on it and sometimes it starts bothering my hand.  This extruder works really well but you have to remember "anytime you use an extruder, your clay has to be soft if you don't want cracks on the edges".  Here is a link to Kim's blog about the extruder.  http://kimisjewelryandgifts.blogspot.com/2013/09/czextruder-xxl-demo-review-and-free.html

Both extruders work hard if your clay is hard.  I use to wear an oven mitt to hold my Makins, then I bought one of those table vises for the extruders but they tend to get in the way.  The discs from both extruders fit into the cap of each other so they are interchangeable.  There is another set of discs that I didn't get.

This is my Makins extruder.  I took a piece of that rubbery stuff you use in boats and RV's to keep things from sliding.  I put a double wrap around it and put rubber bands on it.  It's very comfortable to hold now.  However, if you are looking for the best extruder in the world, I don't know if it's been made yet.  If you are using hard clay, it's still hard to twist the handle on any extruder you have.  The Makins extruder is self-cleaning the other is not.  You can buy a brush to clean the barrel.

This is the Walnut Hollow Extruder that a friend just gave me.  She has very arthritic fingers and had to give up doing clay.  I don't know how long she's had this but it turns rather hard.  I have one and don't remember it turning that hard.  I like the folding handle on the this one and I love the packaging but it is not self cleaning either, that is not a big deal but could be.

I'm going to clay camp for 4 days on the 26th and I'm going to take all these with me and let all the clayers try the new one and see what they think.

Would love to hear from the rest you about your preferences or if you have suggestions on how to make these better.

Thursday, September 5, 2013

A REALLY FUN HOT DAY


Yesterday my friends Carol, Judy and Evelyn took me out to lunch for my birthday even though it was August 22nd.  I was in Chicago on my birthday and yesterday was the first day we could all get together.

It was 109 outside and very humid but we dragged ourselves to The Cheesecake Factory and had a wonderful lunch.  Before I left for Chicago, Evelyn bought me a beautiful purple suitcase that spins and expands, it is awesome.

My dear friend Carol hasn't been doing clay very long but she always did earth clay and she was an incredible sculptress (I think that's what you call a woman sculptor).  She came over one day with these pendants that she had made and you could have knocked me over with a feather.  She gave me one for my birthday and it was my favorite one.

I need to take a better picture but I have a headache and didn't feel like getting all my stuff out.  The cords slide and those are real feathers and beads and leather cord.  I'm hoping she gets them on Etsy.  Southwest stuff is really big right now and this is an amazing work of art.

My friend Judy gave me this neat high heeled shoe tape dispenser.  I remember wearing high heels and then having foot surgery because I couldn't walk anymore.  I get tickled when I look at this and think about all the young girls wearing 6 inch platforms now and what their feet are going to be like when they get to be my age.  I would like to find the guy who invented high heels and make him wear them for a full day.  Then again, maybe he does.  LOL  I also got bags with gorgeous copper bails, a gizmo to stamp out a picture and automatically put an acrylic top on it and some gold stamp pads.  I made quite a haul.

This is my good buddy Champ.  I made his sister and brother blankets so I thought I better make him one.  I didn't tell his mom but before I gave him the blanket, I rubbed dogie bacon all over it.  She called and told me how much he liked it and he keeps rolling in it and rubbing his nose in it.  I had to confess what I did.  She thought that was pretty funny.

I have a new extruder that I got from a place called Lucy Clay in Czechoslovakia.   I'm hoping to try it today and I'll let you know how it works tomorrow with pictures.

Monday, August 26, 2013

AN INCREDIBLE POLYMER CLAY TUTORIAL


A few months ago a friend of mine from our Arizona Polymer Clay Guild gave me two pendants that I blogged about.
Of course it's Buster.  She did a fabulous job on these.  Her name is Michele Norine and her work is incredible.  We talked in length about the fact that she should do a tutorial on how to make these pendants and how she makes the fabulous bails that she puts on them.

The tutorial is called  "STAMP, CUT AND PASTE ON POLYMER CLAY".

The new tutorial is ready and is for sale in her Etsy shop at http://www.etsy.com/listing/159881980/stamp-cut-and-paste-on-polymer-clay?ref=shop_home_active.  Check out the pictures of the things she's made with this technique at her Etsy shop.

 These are the pendants I made from her tutorial.  You can do the technique with many different stamps as you will see on her Etsy page where she explains what is in the tutorial.

There is no end to the gorgeous things you can make.

The tutorial is $10 and you will get a whole lot more than $10 worth of incredible information. 

Thanks Michele, you did an awesome job.


Friday, August 9, 2013

INITIAL CANE AND A HARNESS

I'm sure that title sounds funny to you but you'll see why I put that there.

My last blog was about my friend Michele coming over and showing us how to do an initial cane.  I've decided I don't really like mine and I think it's because it was black and white.  It's too stark.  I should have gone with Evelyn and Carol's idea to do an ecru and black one.

This is a pendant I made that I really like even though the picture isn't so great.  It's a triple layer pendant and has buildings on it.  It was a new  Mayco stamp that I got.  I did some little additions to it like the cross hatch on the top.  It's been sanded 4 times.  I antiqued it with burnt umber and it didn't pop so I used gold and I like it a lot.  I made the pendant baked and sanded it.  Put the paint on it, baked and sanded it again.  And then,
I did the back with my initial cane and a bail.  See, you are saying the initial cane stinks.  Well, I should have made the initials thicker too.  I must not have been listening.  But, I baked and sanded and buffed it again.  It's solid.

This is an owl pendant that I did that I really like and it's going to get crystal eyes very soon.  Again, the initial cane is not to my liking but I was planning on keeping this for me anyway.  This one has been baked, sanded and buffed 3 times also.  The bails on these are something I learned from Michele and she is going to be putting out an incredible tutorial on Etsy.  I'll let you know when it's ready.

You know I walk my friends dogs everyday.  This is Beau.  He is 10 years old and he's an incredible dog.  We always put a harness on the two little ones when I walk them and I mentioned that I thought Beau should have one too.  I thought it would be easier on his neck.  He's had this for two days and now he struts like a king and his neck doesn't pull.  Both of us are happy campers.  You know I'm a cat person but I've been walking these 3 dogs for 8 weeks and I'm learning a lot about dogs and dog people.  If you have a dog, put a harness on them when you go walking.  Don't attach the leash right to their collar.  Isn't he handsome?

These are Kumihimo bracelets I made to take home for the family.  I'm going to Chicago for two weeks so I won't be blogging for a while.  I'm looking forward to the cool weather.  I've had enough summer.

Saturday, August 3, 2013

POLYMER CLAY INITIAL CANE

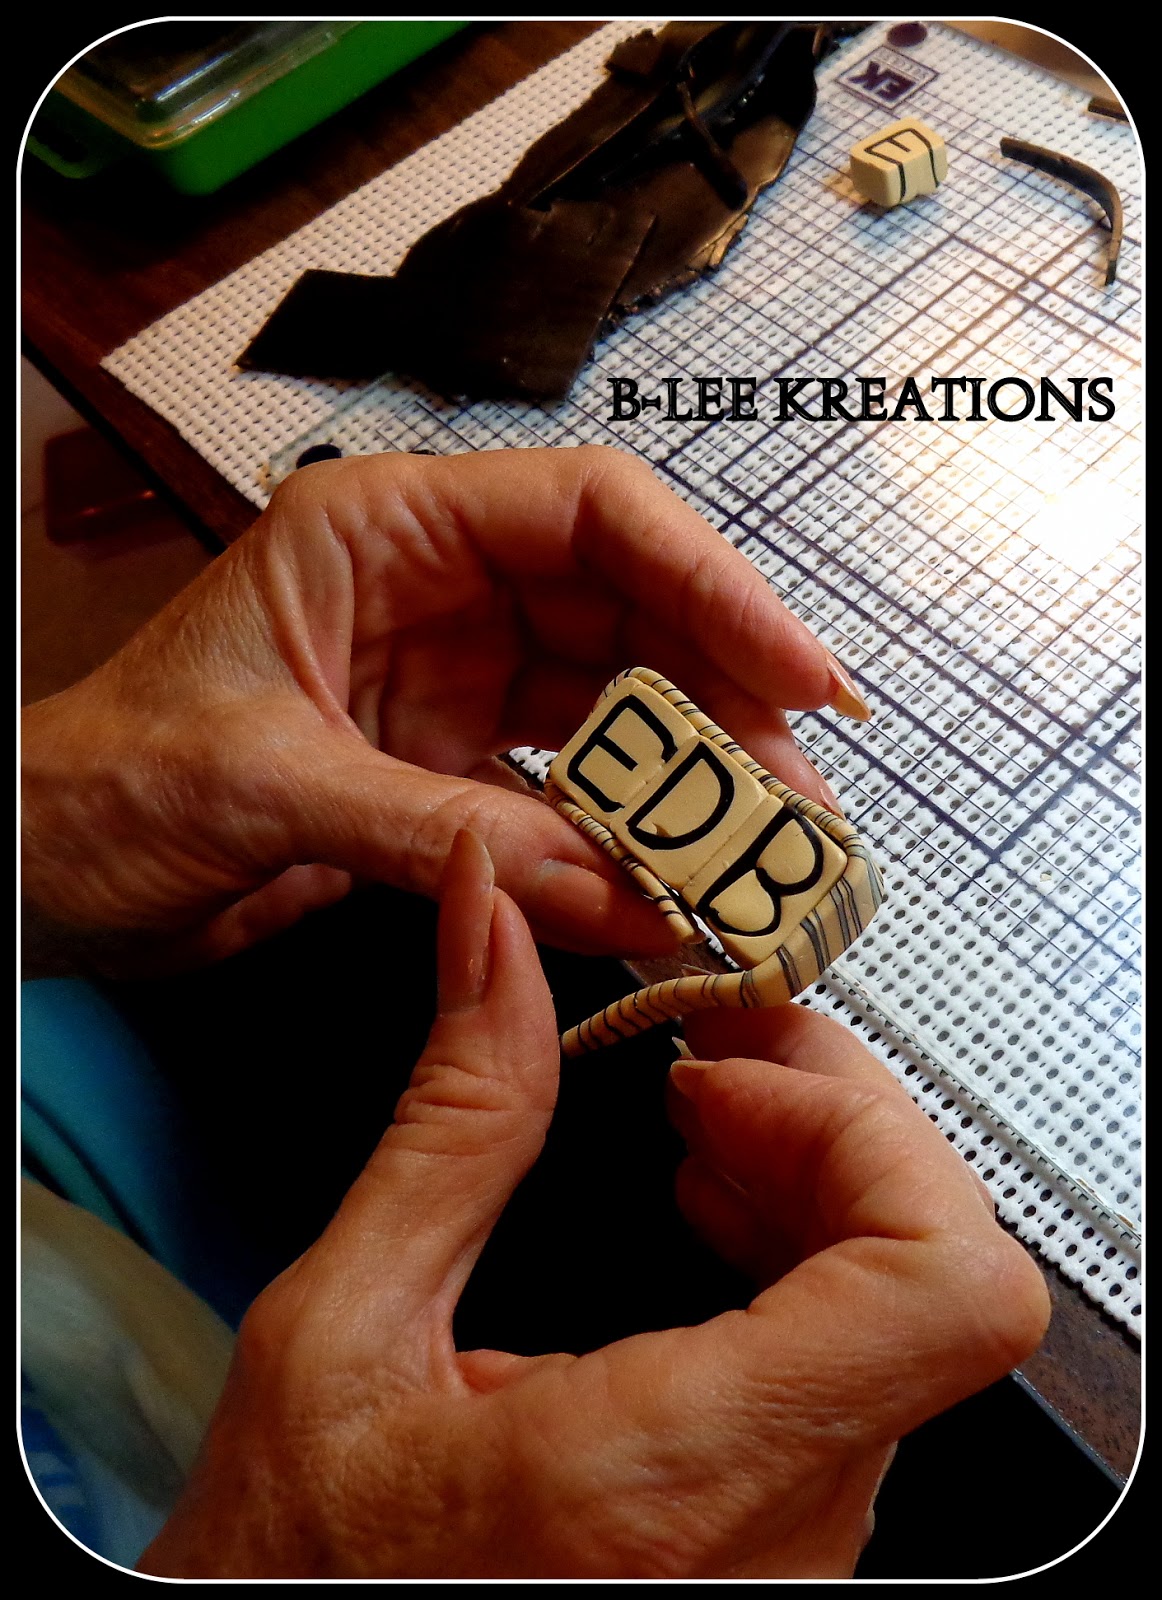
Thursday we had a clay day at my house and we made initial canes.  I don't know why I thought it would be a piece of cake.  Then I sat down and started doing it.  First it looked like a cat that who's dad drank too much vodka.  Good thing Michele was here and she is very methodical in her work with polymer clay.  Our friend Carol just had hand surgery so Michele helped her with her cane.
They did a little off-set thing and it really turned out great.
This is a picture of the final cane after they put it in the extruder.  Sorry I was little shaky and blurry with this picture but I think this is awesome.


This is the start of my cane.  The black on all three initials should have been heavier.
This is my finished cane and it's been reduced so it's about 1/2 inch wide.  
This was Evelyn's cane.   I really like the ecru and black together.

This is her finished cane.
And of course, Evelyn took her end pieces and some of mine and made beautiful Natasha pieces with them.

Well, we had fun and now I have two feet of initial cane that will probably take me 3 years to use.  But, I want to make another one with ecru and black and thicker initials.  This really works well.  I'll take some pictures of some of the pieces that I put this on.